Get started with AppVeyor and GitHub
Ever since I dipped my toes into the world of Open Source software, I have long been impressed with one seemingly simple tool that AppVeyor. So many companies fail to get their build/CI tool spot-on, but I’m happy to report that AppVeyor is blindingly effortless to use delivering exactly what is needed without all the fuss. I first stumbled on this tool when I was looking for some way to use CI on my Log4Net Message Encryption library, as this library is ridiculously small I wanted a simple, lightweight tool to handle my builds… [AppVeyor enters stage right]. And the best thing about this tool, its free for open source projects! Just in case anyone is unsure about just how easy it is to get a build working with GitHub, I thought I’d write a quick article detailing the steps required to get started with AppVeyor and GitHub.
1. Sign up to AppVeyor
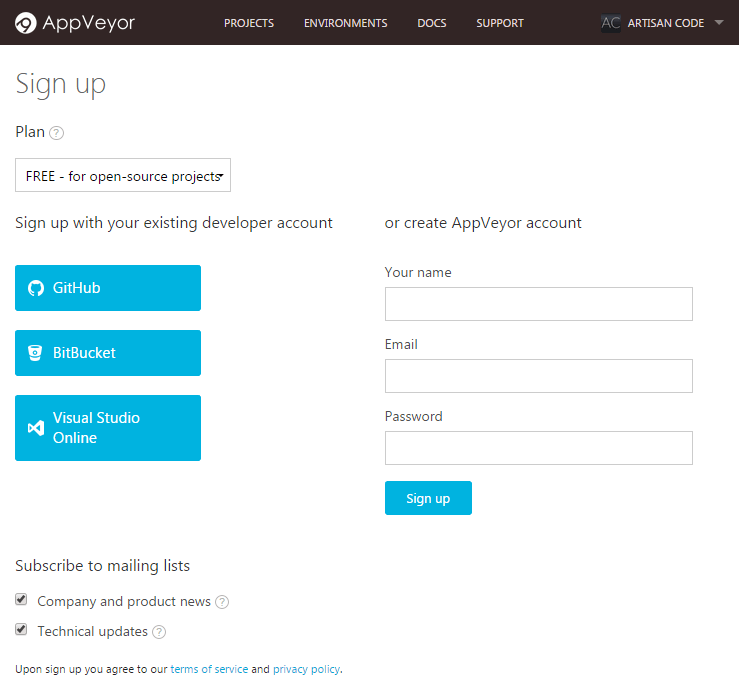
This step is almost too easy, but I thought I’d include it for completeness-sake. So head on over to AppVeyor and sign up now! For ease I would recommend signing in with your GitHub account, but feel free to use any credentials you want as it doesn’t really matter.
2. Create a new project
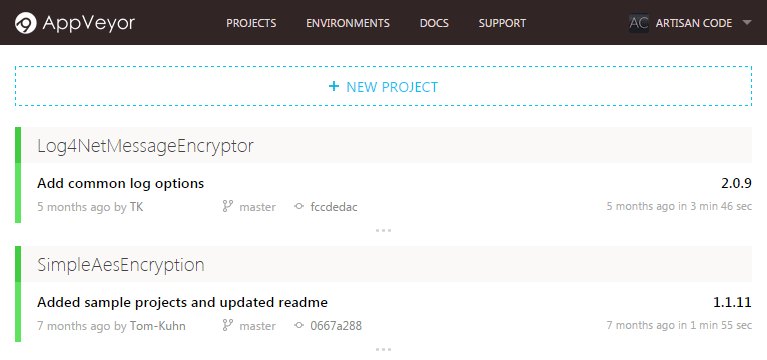
Once you’re all logged in, feel free to create a new project. Head on over to the projects page and hit the big area that says ‘+ NEW PROJECT’.
3. Select your repository
First time projects only
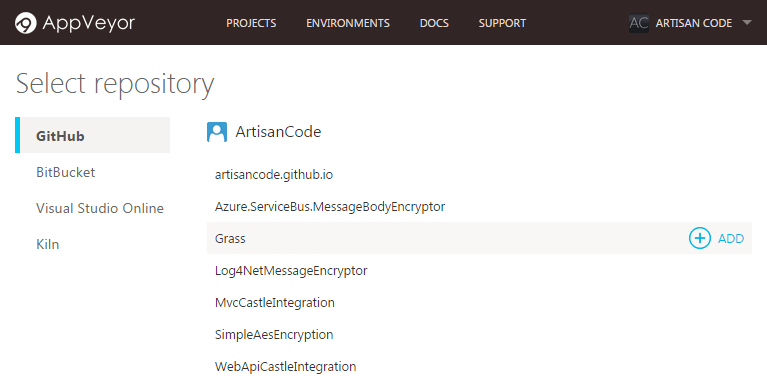
Once you’ve spotted the repository you’re interested in building, hit the ‘+ ADD’ and you’re already most of the way there!
4. (Optional) Modify the build settings
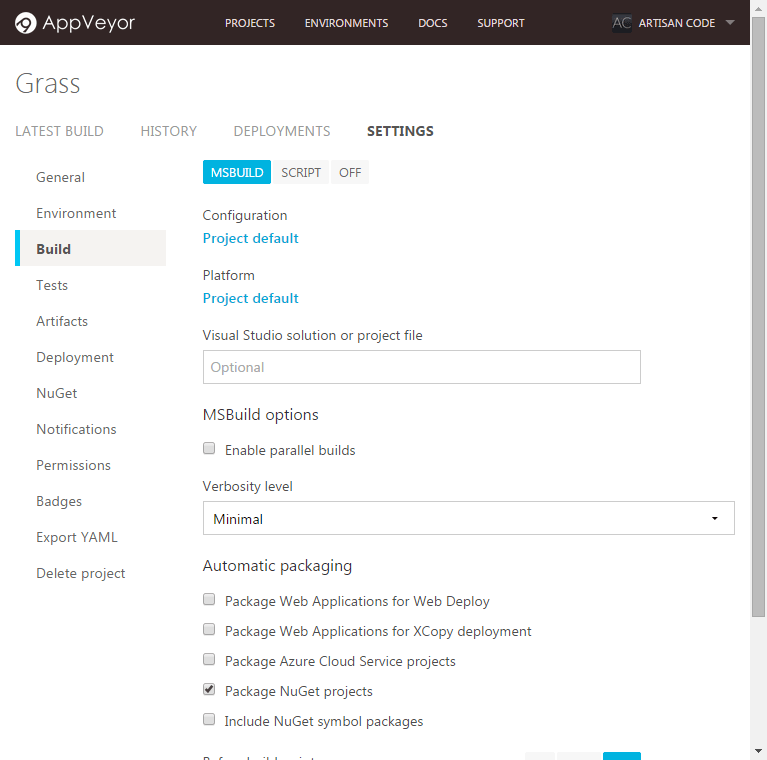
If you feel it’s necessary to change your projects build settings, fire them up, peruse them and change away to your heart’s content.
One option that is useful for me (considering I intend to publish my library on NuGet) is to select the ‘Package NuGet projects’ option. Although I believe for this to work effectivly you will need to have the pre-requisite ‘.nuspec’ file with the correct information in the project being built. (more on this in a later post!)
5. Start your build and watch the magic happen
That’s all there is to it, you can go from nothing to a fully built project in under 5 minutes, that’s certainly nothing to be sniffed at! I only wish that all enterprise build systems were as quick and easy as AppVeyor.
Next time around, I’ll demonstrate how easy it is to create a new deployment environment on NuGet and publish specific versions form AppVeyor to NuGet and let you code be free in the big wide world…


